What is OpenPGP?
OpenPGP (Pretty Good Privacy) is an open encryption and digital signature standard based on Phil Zimmermann's PGP software. OpenPGP defines the format of encrypted messages, including packet format, algorithms, and protocols for key management.
OpenPGP provides end-to-end encryption, which ensures that only the intended recipient(s) of a message can read it, and not even the email service provider or other intermediaries. OpenPGP also supports digital signatures, which enable the recipient to verify the sender's identity and ensure the integrity of the message during transmission.
OpenPGP is widely used for secure communication, including email encryption and file encryption, and is supported by a number of email clients, such as Thunderbird, Apple Mail, and Microsoft Outlook, as well as a number of file encryption software applications. It is used by individuals, businesses, and organizations around the world to safeguard sensitive information and guarantee the privacy and security of their communications.
GPG
GPG (GNU Privacy Guard) is a free and open-source implementation of the OpenPGP (Pretty Good Privacy) encryption and signature standard. It is a piece of cryptographic software that enables users to encrypt and sign messages and files, ensuring the secrecy and authenticity of the data.
GPG is utilized for secure communication, such as email and file encryption. It can be used to encrypt messages and files so that only the intended recipient(s) can read them, as well as to digitally sign messages and files to ensure that they were not altered during transmission.
GPG uses a public-key encryption system, which entails the generation of two keys: a public key that can be freely shared with anyone, and a private key that is kept secret and used to decrypt messages and files encrypted with the public key.
Globally, individuals, businesses, and organizations use GPG to safeguard sensitive data and ensure the privacy and security of their communications.
Digital Signatures
PGP provides authentication and integrity verification for messages.
The latter is used to determine whether a message has been altered since it was sent (the message integrity property), while the former is used to determine whether the message was actually sent by the individual or organization claiming to be its sender. (a digital signature).
Because the message's content is encrypted, any modifications to the message will prevent decryption with the correct key. Using either RSA or DSA, the originator creates a digital signature for the message using PGP. To accomplish this,
PGP computes a hash (also known as a message digest) from the plaintext and then generates the digital signature using the sender's private key and the resulting hash.
Sending confidential messages
PGP can be used to send confidential messages: it employs a hybrid cryptosystem that combines symmetric-key and public-key encryption.
The message is encrypted with a symmetric encryption algorithm that requires a sender-generated symmetric key. The single-use symmetric key is also known as a session key. The recipient is sent the message and its session key.
The session key must be sent to the recipient so they can decrypt the message, but it is encrypted with the recipient's public key to secure it during transmission.
Only the recipient's private key can decrypt the session key and use it to decrypt the message symmetrically.
Practical example 1
According to documentation:
"The
gnupgmodule allows Python programs to make use of the functionality provided by the GNU Privacy Guard (abbreviated GPG or GnuPG). Using this module, Python programs can encrypt and decrypt data, digitally sign documents and verify digital signatures, manage (generate, list and delete) encryption keys, using Public Key Infrastructure (PKI) encryption technology based on OpenPGP."
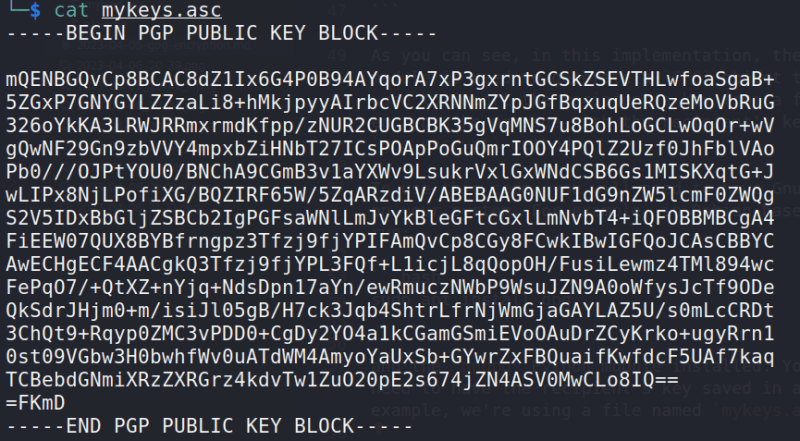
Let's say we have mykeys.asc.
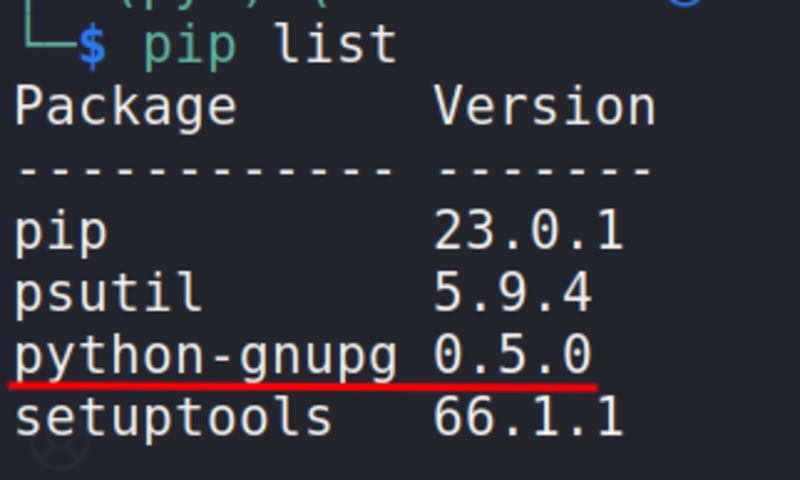
Here's a simple implementation of PGP encryption using the gnupg module in Python:
import gnupg

def encrypt_message(key_file, message):
    gpg = gnupg.GPG()
    key = gpg.import_keys_file(key_file)
    encrypted_data = gpg.encrypt(
        message,
        recipients=['alice.bob@example.com'],
        always_trust=True
    )
    return str(encrypted_data)

key_file = 'mykeys.asc'
message = 'Welcome to websec blog!'
encrypted_message = encrypt_message(key_file, message)
print(encrypted_message)
As you can see, in this implementation, the gnupg module is used to generate a GPG object that can be used to import the recipient's key from a file. We then encrypt the message with the recipient's public key using the gpg.encrypt method.
To use this code, you will need to have GnuPG installed on your system. For example, in Debian-based systems, run:
sudo apt install gpg
and the gnupg Python module installed. You will also need to have the recipient's key saved in a file (in this example, we're using a file named mykeys.asc).
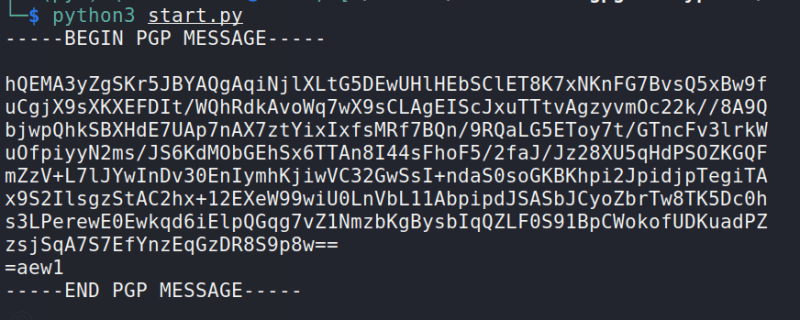
Finally, run our script:
python3 start.py
Practical example 2. PGP key generation
Let's go to add function to generate PGP-key (keygen.py):
import gnupg

def generate_key(key_type, key_length, name_email, passphrase=None):
    gpg = gnupg.GPG()
    input_data = gpg.gen_key_input(
        key_type=key_type,
        key_length=key_length,
        name_email=name_email,
        passphrase=passphrase
    )
    key = gpg.gen_key(input_data)

    ascii_armored_public_keys = gpg.export_keys(key.fingerprint)
    ascii_armored_private_keys = gpg.export_keys(
        keyids=key.fingerprint,
        secret=True,
        passphrase=passphrase,
    )

    with open(f'{key.fingerprint}.asc', 'w') as f:
        f.write(ascii_armored_public_keys)
        f.write(ascii_armored_private_keys)

    return key.fingerprint

key_type = 'RSA'
key_length = 2048
name_email = 'Alice Bob <alice.bob@example.com>'
passphrase = 'mysecretpassphrase'
fingerprint = generate_key(key_type, key_length, name_email, passphrase)
print(f'key fingerprint: {fingerprint}')
The generate_key function generates a public and private key pair using the gnupg module. It takes as input the key type, key length, name and email of the key owner, and an optional passphrase for the private key. It returns the fingerprint of the generated key.
Demo
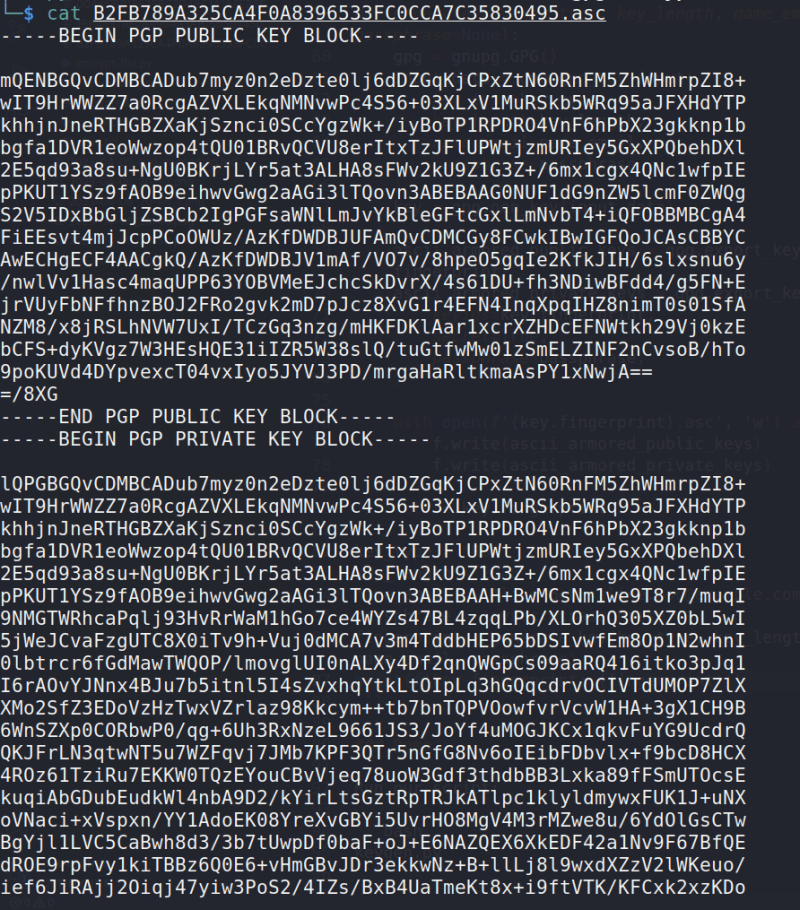
Run our script:
keygen.py
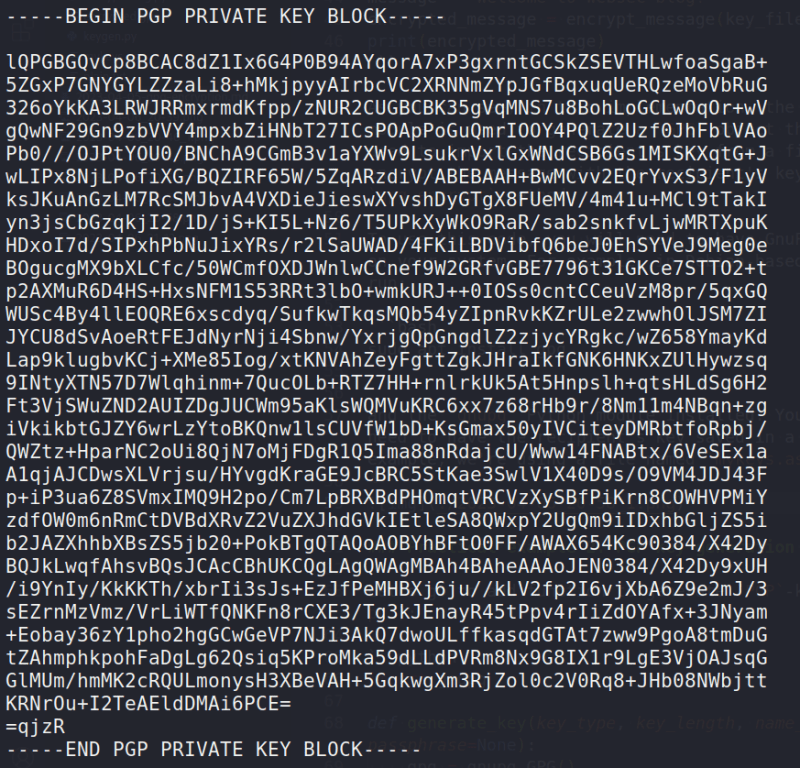
As you can see, everything is OK. When you run the code, it will generate a public and private key pair and save them to the current directory.
Practical example 3. Message encryption
Here is an another example. Let's go to encrypt message. First of all, generating public and private key pair from previous example:
def generate_key(key_type, key_length, name_email, passphrase=None):
    gpg = gnupg.GPG()
    input_data = gpg.gen_key_input(
        key_type=key_type,
        key_length=key_length,
        name_email=name_email,
        passphrase=passphrase
    )
    key = gpg.gen_key(input_data)

    ascii_armored_public_keys = gpg.export_keys(key.fingerprint)
    ascii_armored_private_keys = gpg.export_keys(
        keyids=key.fingerprint,
        secret=True,
        passphrase=passphrase,
    )

    with open(f'{key.fingerprint}.asc', 'w') as f:
        f.write(ascii_armored_public_keys)
        f.write(ascii_armored_private_keys)

    return key.fingerprint
Encrypt message function:
def encrypt_message(message, recipients):
    gpg = gnupg.GPG()
    encrypted_data = gpg.encrypt(
        message,
        recipients=recipients,
        always_trust=True
    )
    return str(encrypted_data)
The encrypt_message function takes as input the message to be encrypted as a string and the fingerprint of the recipient's key. It uses the gnupg module to encrypt the message using the recipient's key, and returns the encrypted message as a string.
Then, just add main logic:
key_type = 'RSA'
key_length = 2048
name_email = 'Alice Bob <alice.bob@example.com>'
passphrase = 'mysecretpassphrase'

# generate public and private key pair
fingerprint = generate_key(key_type, key_length, name_email, passphrase)
print(f'key fingerprint: {fingerprint}')

# encrypt message with generated public key
message = 'Hello, world! Meow-meow!! Welcome to websec cybersecurity blog!'
recipients = [fingerprint]
encrypted_message = encrypt_message(message, recipients)
print(f'encrypted message: {encrypted_message}')
So, final code is looks like (encrypt-msg.py):
import gnupg
import os

def generate_key(key_type, key_length, name_email, passphrase=None):
    gpg = gnupg.GPG()
    input_data = gpg.gen_key_input(
        key_type=key_type,
        key_length=key_length,
        name_email=name_email,
        passphrase=passphrase
    )
    key = gpg.gen_key(input_data)

    ascii_armored_public_keys = gpg.export_keys(key.fingerprint)
    ascii_armored_private_keys = gpg.export_keys(
        keyids=key.fingerprint,
        secret=True,
        passphrase=passphrase,
    )

    with open(f'{key.fingerprint}.asc', 'w') as f:
        f.write(ascii_armored_public_keys)
        f.write(ascii_armored_private_keys)

    return key.fingerprint

def encrypt_message(message, recipients):
    gpg = gnupg.GPG()
    encrypted_data = gpg.encrypt(
        message,
        recipients=recipients,
        always_trust=True
    )
    return str(encrypted_data)

key_type = 'RSA'
key_length = 2048
name_email = 'Alice Bob <alice.bob@example.com>'
passphrase = 'mysecretpassphrase'

# generate public and private key pair
fingerprint = generate_key(key_type, key_length, name_email, passphrase)
print(f'key fingerprint: {fingerprint}')

# encrypt message with generated public key
message = 'Hello, world! Meow-meow!! Welcome to websec cybersecurity blog!'
recipients = [fingerprint]
encrypted_message = encrypt_message(message, recipients)
print(f'encrypted message: {encrypted_message}')
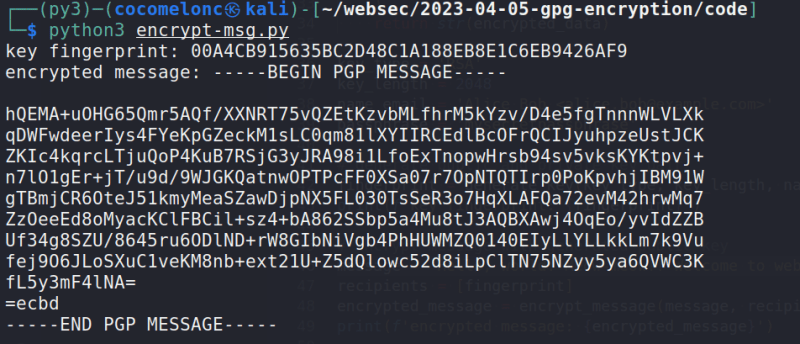
As you can see, the logic is pretty simple.
Demo
Ok, let me show everything in action.
python3 encrypt-msg.py
Practical example 4. File encryption
What about file encryption?
First of all, add new function for file encrypting:
def encrypt_file(plaintext_file, recipients):
    gpg = gnupg.GPG()
    with open(plaintext_file, 'rb') as f:
        status = gpg.encrypt_file(
            f, recipients=recipients,
            output='encrypted.gpg',
            always_trust=True
        )
    print(status.ok)
    print(status.status)
    print(status.stderr)
    return status
The encrypt_file function takes as input the path to the file to be encrypted and a list of the fingerprints of the recipients' public keys. It uses the gnupg module to encrypt the file using the recipients' public keys, and saves the encrypted data to a file with a .gpg extension.
Then, just replace message encryption logic to file encryption:
key_type = 'RSA'
key_length = 2048
name_email = 'Alice Bob <alice.bob@example.com>'
passphrase = 'mysecretpassphrase'

# generate public and private key pair
fingerprint = generate_key(key_type, key_length, name_email, passphrase)
print(f'key fingerprint: {fingerprint}')

# encrypt file with generated public key
recipients = [fingerprint]
encrypted_message = encrypt_file("plain.txt", recipients)
print('file encrypted successfully.')
Final version is looks like this encrypt-file.py:
import gnupg
import os

def generate_key(key_type, key_length, name_email, passphrase=None):
    gpg = gnupg.GPG()
    input_data = gpg.gen_key_input(
        key_type=key_type,
        key_length=key_length,
        name_email=name_email,
        passphrase=passphrase
    )
    key = gpg.gen_key(input_data)

    ascii_armored_public_keys = gpg.export_keys(key.fingerprint)
    ascii_armored_private_keys = gpg.export_keys(
        keyids=key.fingerprint,
        secret=True,
        passphrase=passphrase,
    )

    with open(f'{key.fingerprint}.asc', 'w') as f:
        f.write(ascii_armored_public_keys)
        f.write(ascii_armored_private_keys)

    return key.fingerprint

def encrypt_file(plaintext_file, recipients):
    gpg = gnupg.GPG()
    with open(plaintext_file, 'rb') as f:
        status = gpg.encrypt_file(
            f, recipients=recipients,
            output='encrypted.gpg',
            always_trust=True
        )
    print(status.ok)
    print(status.status)
    print(status.stderr)
    return status

key_type = 'RSA'
key_length = 2048
name_email = 'Alice Bob <alice.bob@example.com>'
passphrase = 'mysecretpassphrase'

# generate public and private key pair
fingerprint = generate_key(key_type, key_length, name_email, passphrase)
print(f'key fingerprint: {fingerprint}')

# encrypt file with generated public key
recipients = [fingerprint]
encrypted_message = encrypt_file("plain.txt", recipients)
print('file encrypted successfully.')
Demo
Let me show this logic in action. Let's say we have a plaintext file:
Then, run our python script:
python3 encrypt-file.py
Note that in the examples above, the public and private keys are written to the same file:
with open(f'{key.fingerprint}.asc', 'w') as f:
    f.write(ascii_armored_public_keys)
    f.write(ascii_armored_private_keys)
So, the good practice is to write the private key in a separate file. Something like this:
with open(f'{key.fingerprint}.pub', 'w') as f:
    f.write(ascii_armored_public_keys)

with open(f'{key.fingerprint}.asc', 'w') as f:
    f.write(ascii_armored_private_keys)
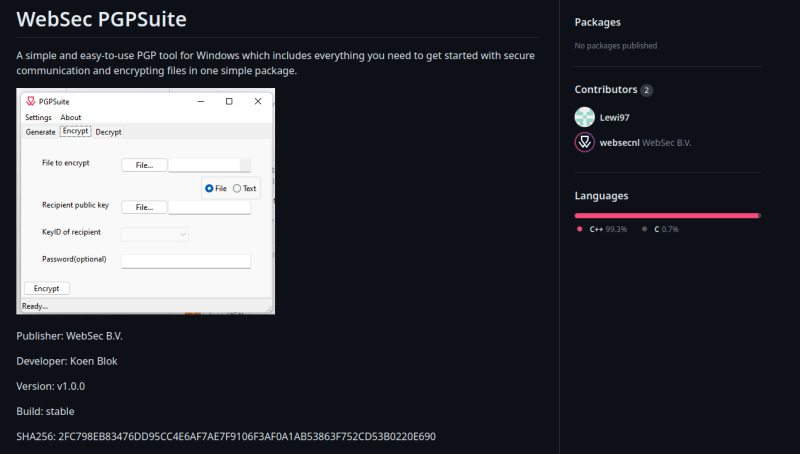
You can use our open source solution https://github.com/websecnl/WebSec-PGP-Suite which is licensed under the GNU General Public License v3.0:
References
RFC4880
Python Wrapper for GnuPG
https://github.com/websecnl/WebSec-PGP-Suite

